How to Add Co2 to Grow Tent
When it comes to growing healthy plants, adding CO2 to your grow tent is a must. CO2 helps your plants grow faster and produce more fruit and flowers. Here’s how to add CO2 to your grow tent:
First, you’ll need to purchase a CO2 tank and regulator. You can find these at most gardening stores or online. Then, set up the regulator according to the manufacturer’s instructions.
Next, open the valve on the CO2 tank and turn on the regulator. Set the flow rate so that it releases about 1-2 bubbles per second.
Finally, place the diffuser in your grow tent and let it run for about an hour before turning it off.
This will help evenly distribute the CO2 throughout the space.
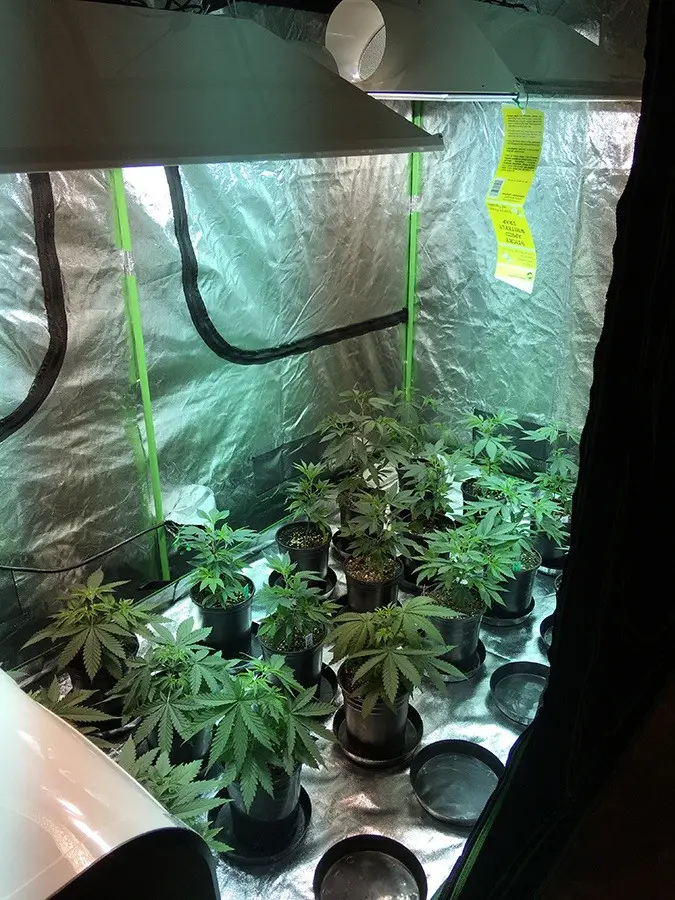
- 1) Hang the CO2 tank from the ceiling of the grow tent using a rope or bungee cord
- Make sure that the tank is secure and will not fall over
- 2) Connect the regulator to the CO2 tank
- 3) Connect one end of the tubing to the regulator and the other end to the fan inside the grow tent
- 4) Turn on the CO2 tank and regulator
- Adjust the flow rate so that it is slowly releasing CO2 into the grow tent
ADDING CO2 TO YOUR GROW TENT!
How Do You Add Co2 to a Grow Tent?
Adding CO2 to a grow tent can help promote plant growth. Plants use CO2 for photosynthesis, which helps them convert sunlight into food. By adding CO2 to the grow tent, you can create an environment that is more conducive to plant growth.
There are a few different ways that you can add CO2 to a grow tent. One way is to use a CO2 generator. This device will produce CO2 through combustion and can be used to supplement the levels in the grow tent.
Another way to add CO2 to the grow tent is by using a compressed gas cylinder. This method is more expensive but will provide a steadier supply of CO2.
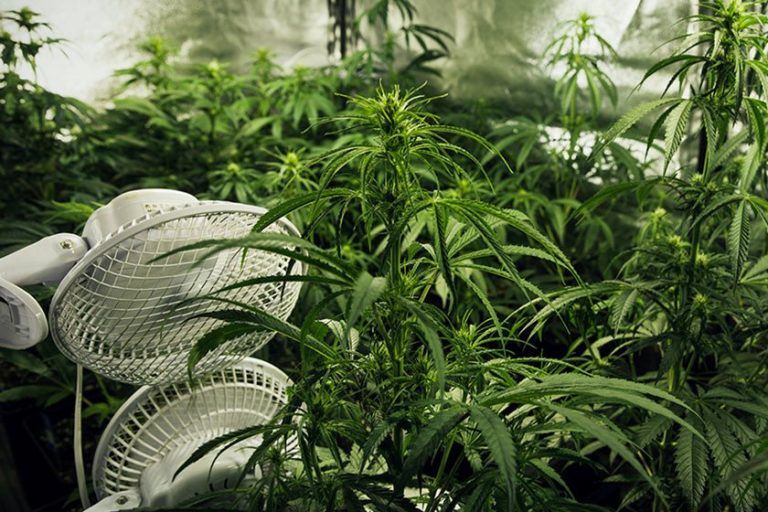
In order for plants to benefit from the added CO2, it is important to maintain proper ventilation in the grow tent.
The added CO2 will quickly dissipate if there is not enough airflow. Make sure that your exhaust fan is running properly and that there are no leaks in the Grow Tent so that your plants can get the full benefits of the added CO2!
Is It Worth Adding Co2 to Grow Tent?
Adding CO2 to a grow tent can increase the rate of photosynthesis, leading to faster growth rates for plants. However, it is important to maintain proper ventilation in the grow tent, as too much CO2 can be detrimental to plant health.
How Many Co2 Bags Should Be in a Grow Tent?
The answer to this question depends on the size of your grow tent and the number of plants you have inside. Generally, you will need one CO2 bag for every 2-3 plants. So, if you have a small grow tent with 6-9 plants, you would need 3 CO2 bags.
If you have a larger grow tent with 12-15 plants, you would need 4-5 CO2 bags.
When Should I Add Co2 to My Grow Room?
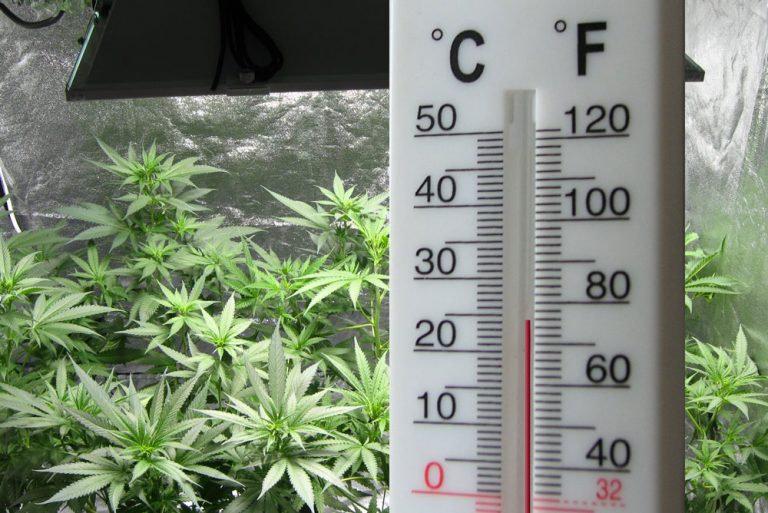
Adding CO2 to your grow room can be beneficial in many ways. It can increase the rate of photosynthesis, which means more growth for your plants. CO2 can also help to regulate temperature and humidity levels, making your grow room more comfortable for both you and your plants.
So when is the best time to add CO2 to your grow room? Generally speaking, it’s best to add CO2 when your lights are on and the temperatures are warm enough for photosynthesis to occur. This typically means during the daytime hours.
However, every grow room is different so it’s important to experiment a bit and see what works best for you and your plants.

Credit: www.growweedeasy.com
Cheapest Way to Add Co2 to Grow Tent
Adding CO2 to your grow tent is an important step in creating a healthy environment for your plants. There are a few different ways to do this, but the cheapest and most effective way is to use a DIY CO2 generator.
A DIY CO2 generator is a simple device that uses yeast and sugar to produce carbon dioxide.
The yeast consumes the sugar and produces CO2 as a byproduct. This CO2 is then released into the grow tent, providing your plants with the extra boost they need to thrive.
There are a few different designs for DIY CO2 generators, but they all follow the same basic principle.
You’ll need a container for the yeast and sugar mixture, something to collect the gas (a balloon or plastic bottle), and something to release it into the grow tent (a tube or hose).
The most important part of any CO2 generator is ensuring that the yeast has enough oxygen to survive. If you’re using a balloon or plastic bottle, make sure there’s a small hole in it so that air can flow in and out.
If you’re using a tube or hose, make sure one end is open to the air.
Once you have everything assembled, simply mix together some sugar and water (1 cup of each should be sufficient), add some yeast, and seal everything up. The yeast will start consuming the sugar and producing CO2 immediately.
After 24 hours, you should start seeing bubbles being produced in the collecting vessel. At this point, you can attach it to your grow tent and allow the CO2 to flow into it.
If everything goes according to plan, your plants will love their new source of food!
Not only will they grow bigger and healthier, but they’ll also produce more fruit or flowers than ever before. So if you’re looking for an inexpensive way to give your plants a boost – try building yourself a DIY CO2 generator!
Homemade Co2 for Grow Tent
If you’re looking to get the most out of your grow tent, then you’ll want to consider using a homemade CO2 system. This can be a great way to improve plant growth and yield, while also saving money on commercial CO2 generators. Here’s everything you need to know about setting up a DIY CO2 system for your grow tent.
There are two main methods for producing CO2 for your grow tent – fermentation and burning fossil fuels. Fermentation is the cheaper and more natural method, but it does require some effort to set up and maintain. Burning fossil fuels, on the other hand, is much easier but will incur ongoing costs.
The fermentation method involves allowing yeasts or bacteria to break down sugars into carbon dioxide and alcohols. This process can be done in a variety of ways, but the most popular method is using sugar water and yeast cultures. Once the fermentation process is complete, the carbon dioxide produced will need to be captured in an airtight container (like a balloon) before being released into the grow tent.
The burning fossil fuels method simply involves burning any type of hydrocarbon fuel – such as propane, natural gas or gasoline – in a controlled manner inside the grow tent. This will produce carbon dioxide which can then be released into the atmosphere of the tent. While this method is very effective, it’s important to make sure that there is adequate ventilation so that dangerous fumes don’t build up inside the space.
Once you’ve decided on which method you’ll use to produce CO2, it’s time to start thinking about how you’ll get it into your grow tent. The most common way is by using an exhaust fan connected to a ducting system that runs from outside of the tent into its interior. By running the fan continuously, fresh air will be pulled into the tent and any carbon dioxide produced will be blown out along with it.
Another option is to use an inline fan connected directly to a container of fermenting material or fuel source – this will ensure that all of the CO2 produced gets sucked straight into thegrow space without any chance of escape!
Homemade Co2 for Plants
If you’re looking for a way to improve your plants’ growth without spending a lot of money, consider making your own CO2. Although there are many commercial CO2 generators on the market, they can be quite expensive. Fortunately, it’s easy to create your own system using everyday household items.
Here’s what you need:
-A 2 liter soda bottle
-A small funnel
-1/4 teaspoon baking soda
-1/4 teaspoon yeast
-Water
To get started, add the baking soda and yeast to the bottle using the funnel. Then, fill the bottle with water, leaving about an inch of space at the top. Screw on the lid tightly and give it a shake to mix everything together.
Now, place the bottle in a warm location out of direct sunlight. The yeast will start to eat away at the sugars in the baking soda and produce carbon dioxide gas. This gas will build up pressure inside the bottle and eventually start seeping out through any tiny openings.
As long as you have a tight seal on your bottle, this process will continue indefinitely (although you may need to add more water from time to time). Just set it and forget it!
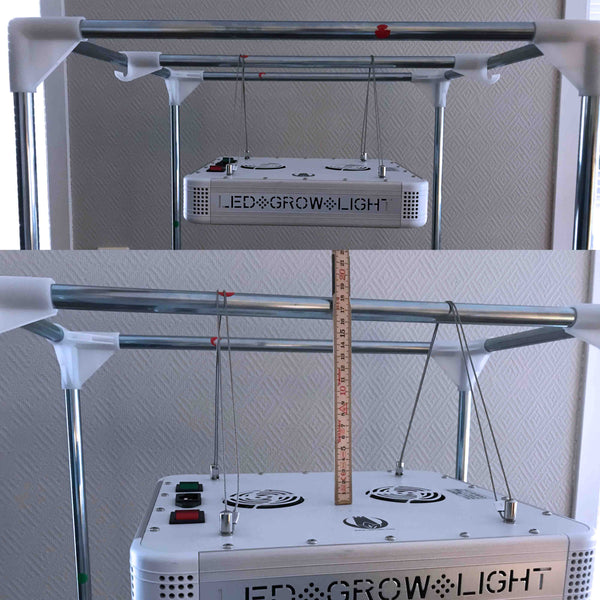
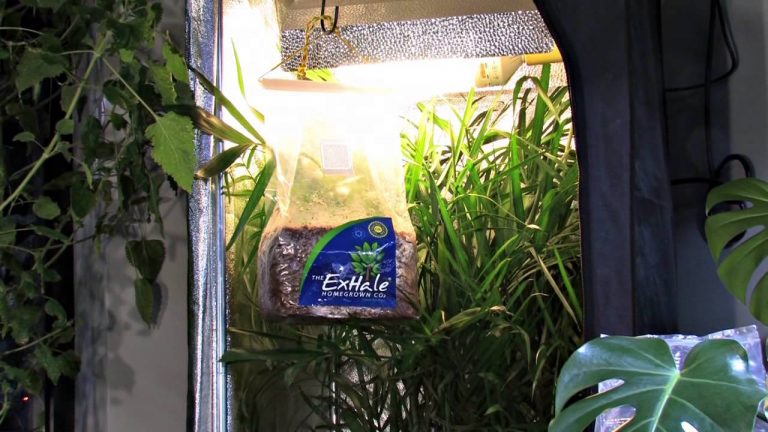
Where to Place Co2 Bag in Grow Tent
If you’re wondering where to place your CO2 bag in your grow tent, there are a few things to consider. First, you’ll want to make sure that the bag is not touching any of the walls or fabric of the tent, as this can cause condensation and mold. Second, you’ll want to keep the bag away from any heat sources, as this can cause the CO2 to dissipate too quickly.
Ideally, you should place the CO2 bag in the center of the tent, suspended from the ceiling. This will allow for even distribution of CO2 throughout the space. If you have a fan in your grow tent, be sure to point it towards the CO2 bag so that it circulates evenly.
By following these simple tips, you can ensure that your plants get all the CO2 they need to thrive!
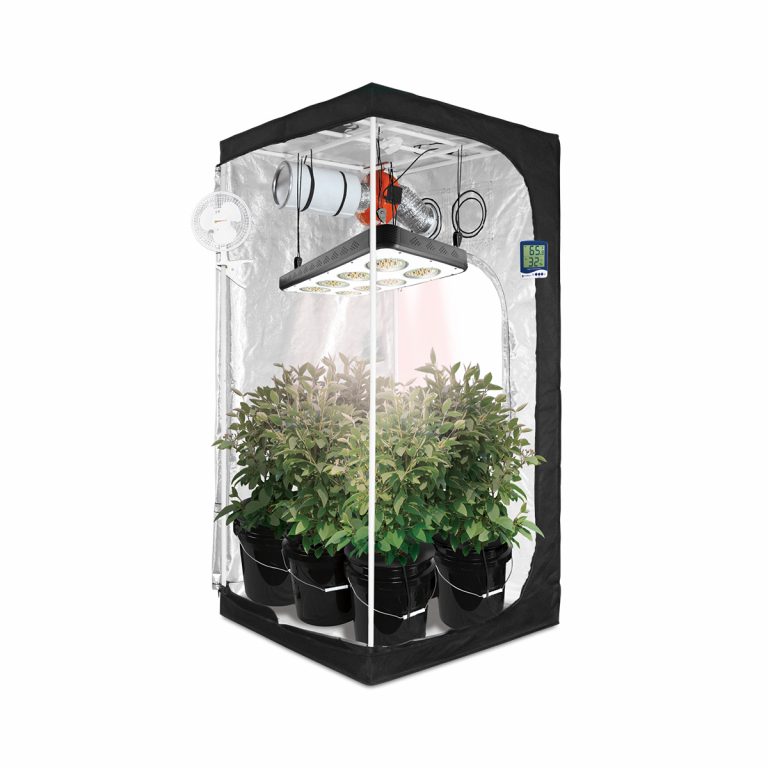
Co2 Injection System for Grow Room
If you’re looking to increase your grow room’s yields, one option you might consider is a CO2 injection system. By injecting CO2 into the grow room, you can create an optimal environment for plants, leading to bigger and better harvests.
There are a few things to keep in mind if you’re thinking about adding a CO2 injection system to your grow room.
First, you’ll need to purchase a quality CO2 generator or regulator – this is the device that will actually inject the gas into the room. Second, you’ll need to monitor the level of CO2 in the room carefully; too much or too little can be detrimental to plant growth. Finally, remember that injecting CO2 into your grow room will also increase the temperature, so be sure to take that into account when setting up your system.
Overall, using a CO2 injection system can be a great way to boost your grow room’s productivity. Just be sure to do your research and set everything up properly before getting started.
Natural Co2 for Grow Tent
As a grower, you know that one of the main ingredients your plants need for photosynthesis is carbon dioxide (CO2). While there are many ways to provide CO2 for your grow room or grow tent, using natural CO2 sources is often the most effective and efficient method.
There are several different types of natural CO2 sources that you can use for your grow room or grow tent.
Here are some of the most popular options:
1. Yeast Fermentation: This is a relatively simple process that can be done at home with just a few supplies. All you need is some sugar, water, and yeast.
The yeast will consume the sugar and produce CO2 as a by-product. You can then capture this gas and funnel it into your grow room or tent.
2. Dry Ice: Dry ice is simply frozen CO2.
It can be purchased from most grocery stores or online retailers. When dry ice sublimates (turns from a solid to a gas), it releases CO2 gas which you can then funnel into your grow space.
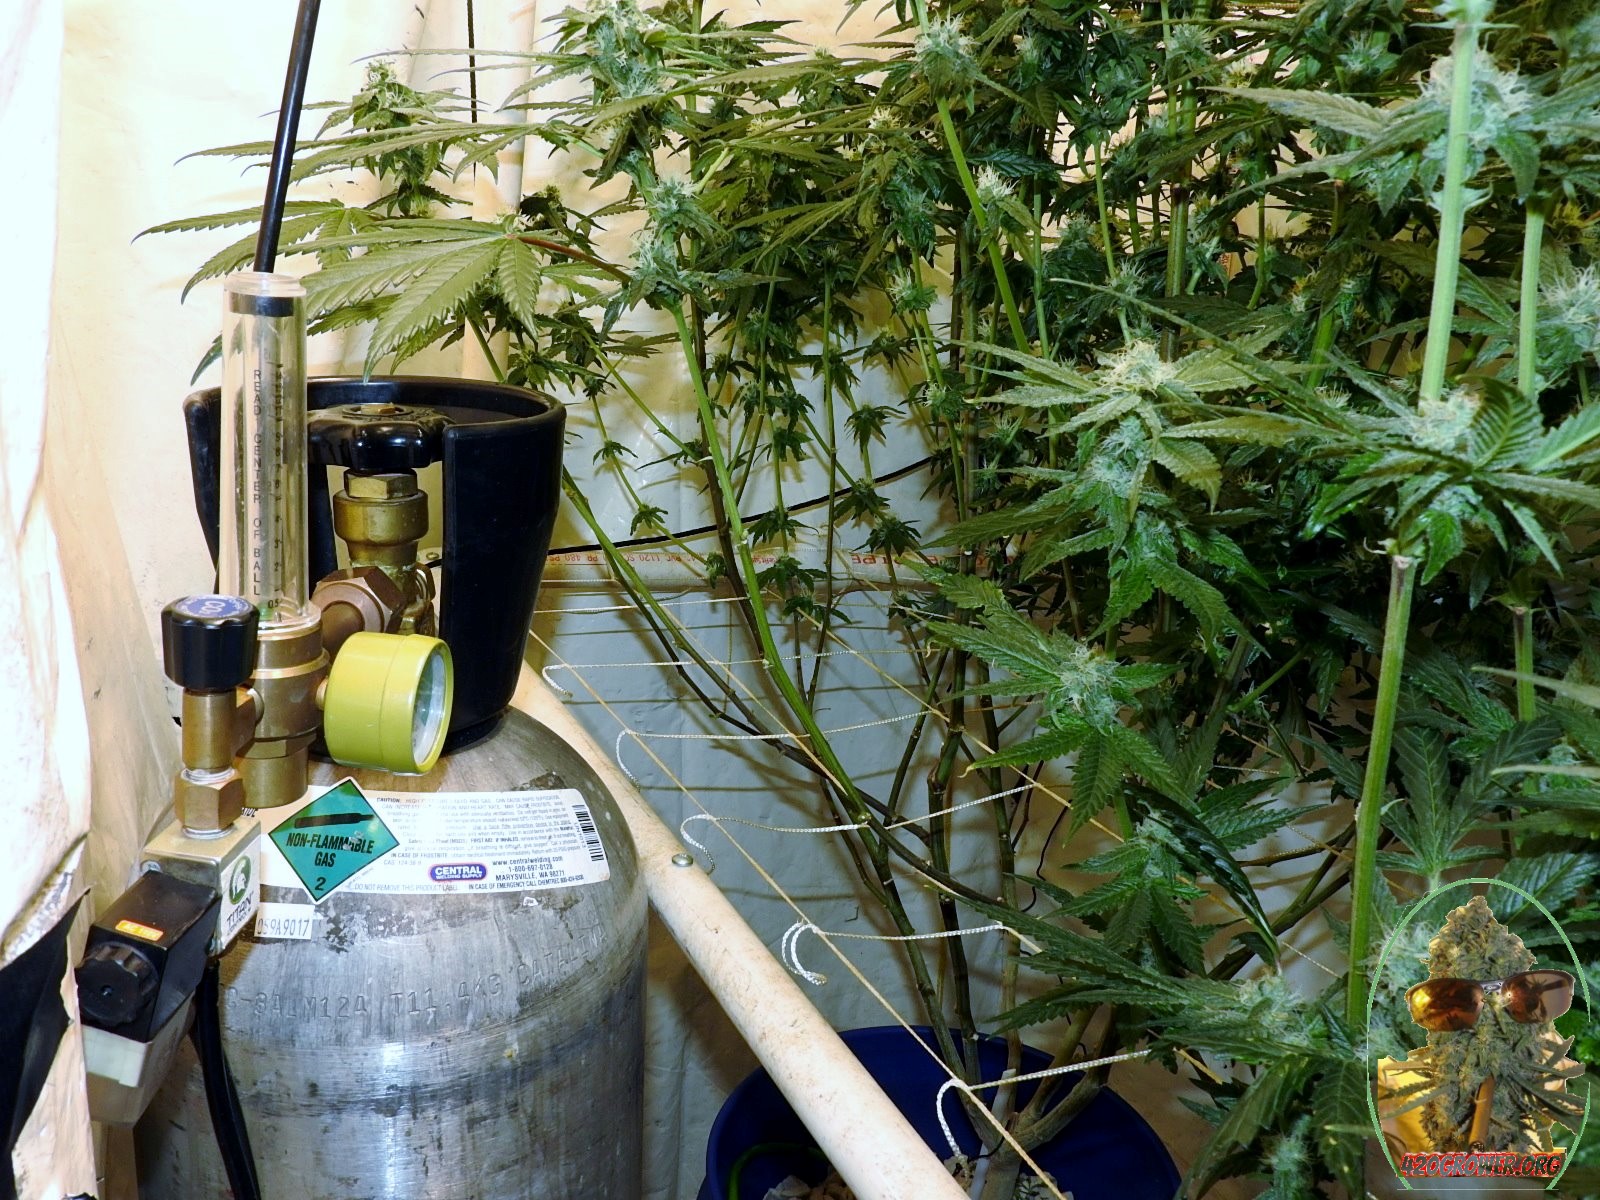
3. Compressed CO2 Tanks: These tanks are typically used by businesses like restaurants who need large quantities of CO2 for their soda fountains.
However, they can also be used for growing purposes if you have access to one. The tanks usually have regulators attached so you can control the flow of CO2 into your grow room or tent.
Conclusion
Adding CO2 to a grow tent is often recommended for plants that are struggling to thrive. CO2 can help them to grow bigger and faster, as well as produce more fruit and flowers. There are a few different ways to add CO2 to a grow tent, including using a pressurized tank, an injection system, or simply placing dry ice inside the tent.