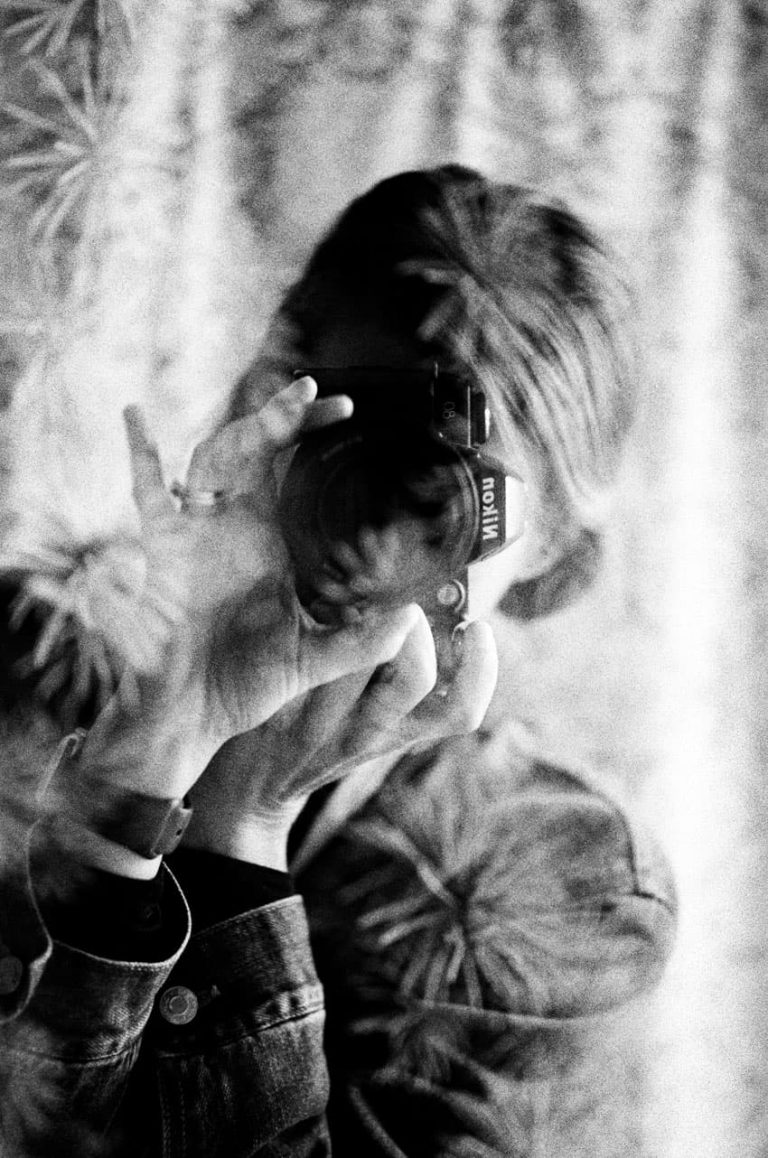
Black And White Photography in Chemistry
Black and white photography has been an important tool in chemistry since the early days of the science. In fact, some of the most iconic images in the history of chemistry are black and white photographs. While color photography is now possible, there are still many instances where black and white photography is preferable.
In a world of ever-growing digital technology, it’s easy to forget that some of the most stunning images are created using traditional methods. Black and white photography is one such example.
There’s something about black and white images that can convey emotion and feeling in a way that color photos often cannot.
Maybe it’s the simplicity of the palette, or the way that shadows and light are used to create contrast. Whatever the reason, black and white photography has a timeless quality that is truly captivating.
And while you might not think of chemistry when you think of black and white photographs, the two actually have quite a bit in common.
Both involve careful experimentation with different elements in order to create beautiful results.
So next time you’re looking for inspiration, don’t forget to look to the past – black and white photography is definitely worth your attention!
Darkroom black and white film photography chemistry
What is White And Black Photography in Chemistry?
In photography, white and black refers to the tones in an image. Images can be made up of a range of tones from very dark to very light. Black and white photography is usually referring to images that have had all their color removed, resulting in an image made up only of shades of grey.
There are many reasons why photographers might choose to convert their images to black and white. It can be used for artistic effect, or to create a certain mood or atmosphere in an image. It can also be useful when trying to convey a message or story without the distraction of color.
Converting an image from color to black and white is relatively simple using most photo editing software. However, it takes a bit more skill and knowledge to produce a high quality black and white image. There are several things that need to be taken into account, such as contrast, tonal values and composition.
If you’re interested in learning more about black and white photography, there are plenty of resources available online and in books. Once you’ve mastered the basics, you’ll be able to create stunning images that have real impact.
How is Chemistry Used in Photography?
In photography, chemistry is used in a process called developing, in which a photographer uses chemicals to develop film or paper negatives into positives. This process allows photographers to control the contrast, density, and other properties of their images.
What is Black And White in Photography?
In photography, black and white is the use of one color channel. Black and white photography can be used for a number of reasons, including to create an old-fashioned or vintage look, as well as to emphasize contrast. Black and white photos are also often more striking than their color counterparts.
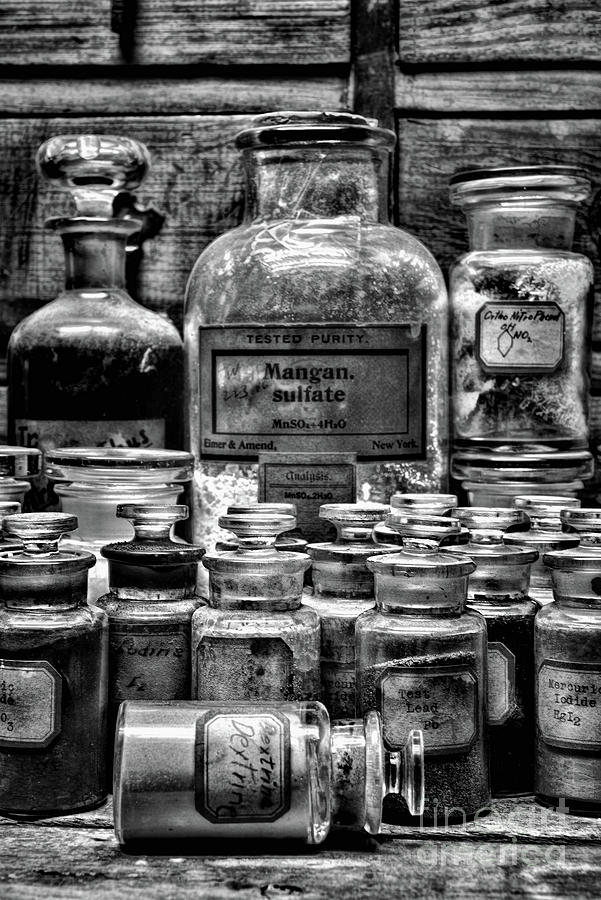
Which Compound is Used in Black And White Photography With Formula?
Black and white photography is typically associated with a compound called silver halide. This substance is used in photographic film and paper, and it is sensitive to light. When exposed to light, the silver halide molecules are broken down and release silver atoms.
These atoms interact with the light to create an image on the film or paper.

Credit: www.bigstockphoto.com
What is Black And White Photography in Chemistry Class 10
Black and white photography in chemistry class 10 is a process of taking photographs using black and white film. This type of photography can be used to create some really stunning images. When done correctly, black and white photos have a way of capturing the world in a completely different light.
They can make the ordinary look extraordinary.
If you’re interested in trying your hand at black and white photography, there are a few things you’ll need to know first. Here’s a quick rundown on what you need to get started:
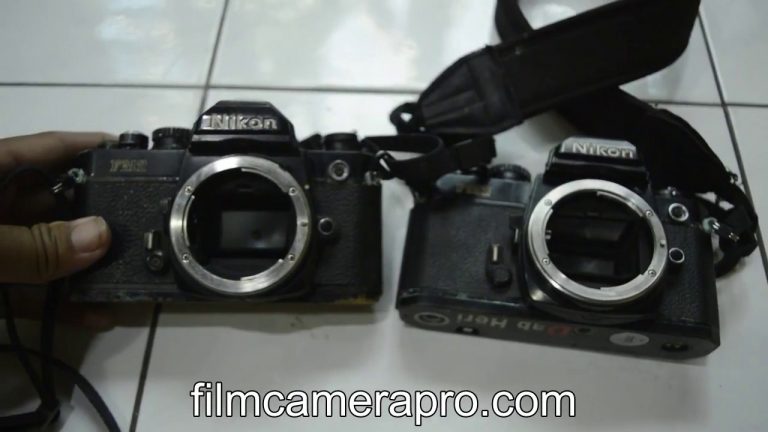
1. Black and white film – You’ll need to purchase some black and white film for your camera. This can be found at most camera stores or online.
2. A darkroom – To develop your film, you’ll need access to a darkroom.
This is usually available through local colleges or community centers.
3. Photography chemicals – These are used in the development process and can be purchased online or at most camera stores.
4. A tripod – Taking sharp photos requires that your camera be absolutely still when the shutter is open.
Using a tripod will help ensure that your photos turn out crisp and clear.
Chemistry in Black And White Photography Class 12
In black and white photography, chemistry plays a vital role in ensuring that the final image is correctly exposed and looks its best. By understanding the basics of how chemical reactions work, students can take their photography to the next level.
When light hits a piece of film, it causes a reaction between silver halide molecules and photographic developer chemicals.
This reaction creates tiny particles of metallic silver on the film, which appear as black areas when viewed through a microscope. The amount of silver deposited on the film depends on the intensity of the light that hit it – brighter areas will have more silver, while darker areas will have less.
The developer chemicals also play an important role in how an image looks.
Different developers can produce different results, so it’s important to experiment with different brands and types to see what works best for you. For example, some developers may produce images with higher contrast than others.
Once the development process is complete, fixed-up chemicals are used to stop any further reactions from taking place.
Finally, the film is washed to remove any leftover chemicals and then dried before being cut into negatives or slides.
Chemistry in Black And White Photography Wikipedia
In black and white photography, chemistry is used to develop and print the negative. The chemistry of black and white photography has changed little since the late 19th century. Modern film and paper developers are very similar to those first used by George Eastman in 1878.
The main difference is in the quality and availability of raw materials.
The chemistry of black and white photography is simple but precise. All you need are three chemicals: developer, fixer, and stop bath.
You also need water to mix the chemicals and a darkroom to work in.
The first step is to develop the negative. This involves immersing it in developer for a specific amount of time at a specific temperature.
The developer reacts with the silver halide crystals in the film emulsion to create tiny particles of metallic silver. These particles form an image that is the negative of what was photographed.
Once the negative has been developed, it needs to be fixed so that it won’t fade when exposed to light.
Fixer does this by dissolving any unexposed silver halide crystals still in the emulsion.
After fixing, rinse the negative thoroughly with water to remove all traces of fixer before moving on to the stop bath. The stop bath acts as a neutralizer for any residual developer left on the film or paper before it enters the fixer stage.
It also slows down development so that fixing can proceed smoothly without over-processing .
Chemistry in Black And White Photography Pdf
Few people know that the chemistry behind black and white photography is just as interesting as the art itself. In fact, the chemistry of black and white photography has been studied since the early 1800s.
The first step in black and white photography is to coat a piece of paper or film with a light-sensitive material.
This material is usually silver halide, which is a compound of silver and one of the halogens (fluorine, chlorine, bromine, or iodine).
When light hits silver halide, it causes the release of electrons. These electrons are then captured by an adjacent atom of silver, which creates a new atom of silver.
This process continues until there are enough atoms of silver to create an image.
The next step in black and white photography is to develop the film or paper. This process makes use of chemicals known as reducers, which convert the tiny particles of silver into larger ones.
The larger particles are then deposited onto the film or paper, resulting in a visible image.
Finally, the last step in black and white photography is to fix the image. This is done by bathing the film or paper in a solution known as a fixer, which removes any remaining particles of silver halide.
Fixing also prevents further darkening of the image when exposed to light.
Chemistry in Black And White Photography Project Class 12 Pdf
Chemistry in black and white photography project is an interesting topic to explore. It involves the study of how different chemicals react with one another to create images on film. This can be a very complex topic, but it is also possible to simplify it and understand the basics.
In this blog post, we will take a look at what you need to know about chemistry in black and white photography.
First of all, let’s briefly define what black and white photography is. Black and white photography uses only two colors: black and white.
The tones in between these two colors are produced by varying the proportions of light reflected off the subject matter. For example, shadows appear darker than their surroundings because less light is being reflected off them. Conversely, highlights appear lighter than their surroundings because more light is being reflected off them.
Now that we have a basic understanding of black and white photography, let’s talk about how chemistry comes into play. Every kind of film or paper used in black and white photography contains silver halide crystals. When exposed to light, these crystals change shape slightly and become more reactive to certain chemicals (Developer & Fixer).
These changed crystals are then able to produce an image on film when they come into contact with those chemicals during the development process
(https://en.wikipedia.org/wiki/Black_and_white_photography).
Different types of developers will produce different kinds of contrast in your images depending on how they work with the silver halide crystals (https://photolemur .com/blog/best-black-and-white-film).
For instance, if you want higher contrast images with deep blacks and bright whites, you would use a developer that produces what is called “stain.” However, if you want softer images with more subtle shades of gray, you would use a “bleach bypass” developer instead which leaves some silver behind in the film emulsion
(https://www .theodora .com/photoschool/darkroom /printing /contrasts .html).
There are many other variables that affect the quality of your final image including fixer type, paper surface , printing technique , etc., but hopefully this gives you a better understanding of how chemistry plays a role in black and white photography!
Chemistry in Black And White Photography Introduction
Few people know that the chemistry behind black and white photography is still used today. In fact, many modern photographers use black and white film to give their photos a more classic look.
The first thing to understand about black and white photography is that it’s all about light.
More specifically, it’s about how different colors of light interact with each other. When you take a picture with a digital camera, the sensor captures all of the colors in the scene. But when you take a picture with black and white film, only certain colors are captured.
For example, blue and red light will be recorded as different shades of gray on black and white film. But green and yellow light will be recorded as the same shade of gray. This is because green and yellow light have very similar wavelengths.
As a result, they produce similar reactions in the photographic emulsion (the part of the film that reacts to light).
So how do photographers control which colors are captured on film? By using filters!
Different color filters allow different colors of light to pass through while blocking others. For example, a red filter will allow red light to pass through while blocking blue and green light. This means that objects that reflect a lot of blue or green light will appear darker in your photo than they actually are.
Meanwhile, objects that reflect red light will appear brighter than they actually are. You can use this to your advantage when taking pictures by carefully choosing which objects you want to highlight or hide in your photo.
Chemistry in Black And White Photography Ppt
Black and white photography has been around since the early days of the medium. Although color photography has become increasingly popular, there are still many photographers who prefer black and white. There are a number of reasons for this, but one of the most important is that black and white can be very evocative.
A black and white image can convey a feeling or mood that is difficult to achieve with color. When done well, black and white photographs can have a timeless quality. They can also be more visually striking than color images, due to the contrast between light and dark tones.
Of course, not all subjects lend themselves well to black and white treatment. But when it comes to portrait or landscape photography, for example, black and white can be incredibly effective. If you’re thinking about trying your hand at black and white photography, here are a few things to keep in mind.
First, pay attention to tonal values. A good black and white image will have a full range of tonal values from deep blacks to bright whites. This can be achieved by using a proper exposure technique (more on that below) or by post-processing your images in software like Adobe Photoshop.
Second, use contrast judiciously. Too much contrast can make an image look harsh, while too little can make it look flat. Experiment with different levels of contrast until you find something that looks pleasing to your eye.
Third, don’t be afraid of shadows! In fact, they can often add depth and interest to an otherwise mundane scene. Play around with lighting until you find an effect that you like; sometimes backlighting works well for creating interesting shadows . . . just make sure your subject isn’t underexposed as a result!
Conclusion
We all know that certain chemicals are used in the development of black and white photography. But did you ever stop to think about how those same chemicals might be used in other ways? For instance, what if we could use them to create beautiful works of art?
It turns out that many of the chemicals used in black and white photography are also used in the world of art. Artists have been using them for years to create stunning pieces of artwork. And now, with the help of modern technology, we can use these same chemicals to create beautiful black and white photographs.
So, if you’re looking for a new way to add some creativity to your photography, why not try using some of these chemical compounds? You might be surprised at the results!