Black And White Portrait Photography Lighting Techniques
There are many different ways that you can light a black and white portrait. You can use natural light, artificial light, or a combination of both. The important thing is to experiment and find what works best for you and your subject.
Here are some tips to get you started.
Natural light is always the best option if you can get it. The sun provides a soft, even light that is very flattering for portraits.
If you are shooting outdoors, try to position your subject so that they are in the shade. This will help to avoid harsh shadows on their face. If you are shooting indoors, look for a room with large windows that will let in plenty of natural light.
There are a variety of ways that you can light black and white portraits. One popular way is to use side lighting, which creates dramatic shadows and highlights. Another common technique is backlighting, which can create a soft, ethereal look.
If you want to experiment with different lighting techniques, try using a reflector to bounce light onto your subject’s face. This will help to soften any harsh shadows. Experiment with different angles and distances until you find the perfect balance of light and shadow for your portrait.
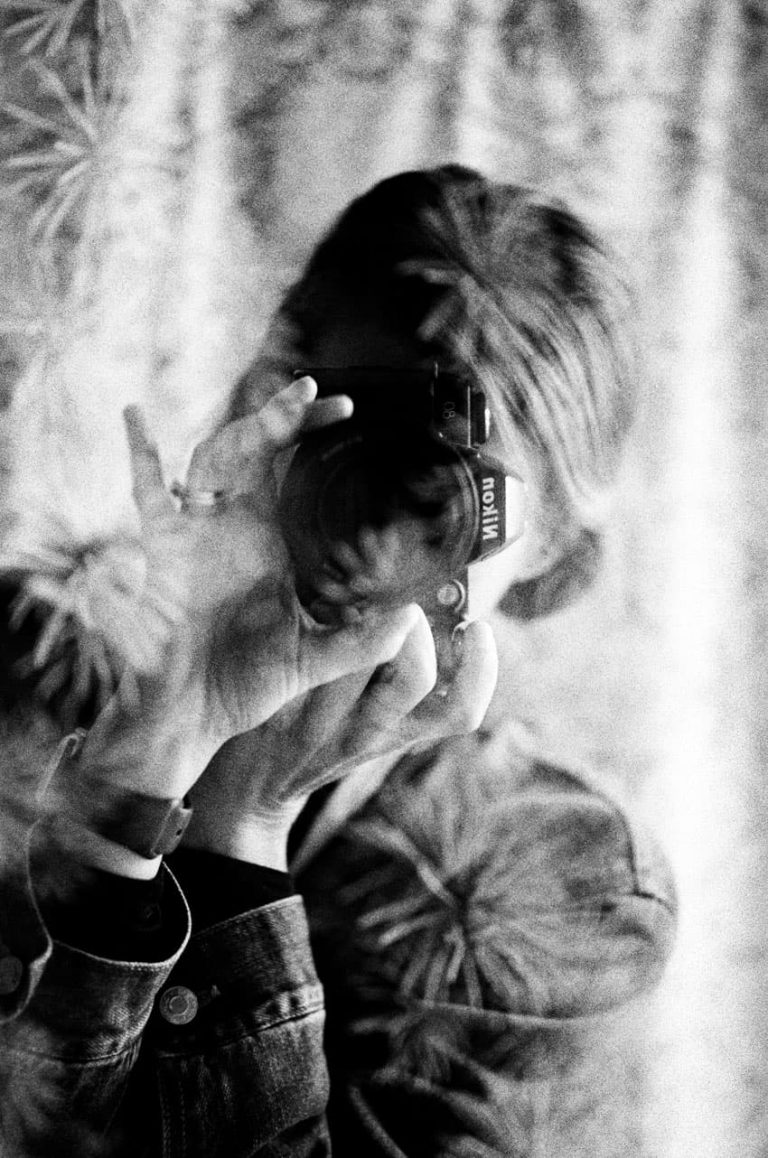
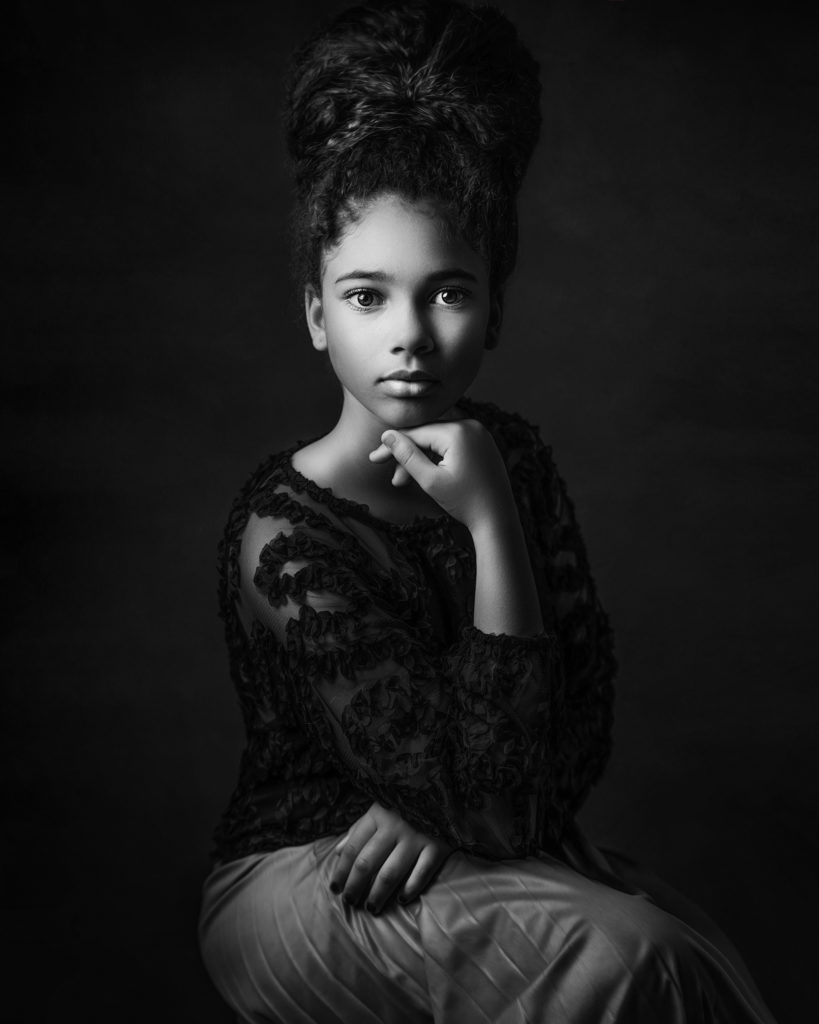
How to Light and Photograph Dramatic Black and White Portraits With just ONE SPEEDLIGHT
What Kind of Lighting Conditions are Most Suitable for Black & White Photography?
Black and white photography can be stunningly beautiful, but it does require some careful consideration when it comes to lighting. The most important thing to remember is that black and white images tend to lose some of their punch when there is too much contrast between light and dark areas. This means that you will need to find a balance between shadows and highlights in order to create an effective black and white image.
One of the best ways to achieve this balance is by using diffused light, such as from cloudy skies or an overcast day. This type of lighting eliminates harsh shadows and can help give your black and white photos a softer, more romantic look. If you are shooting indoors, try using lamps with soft white bulbs or shoot near a window where natural light can filter in without creating too much contrast.
Another important factor to consider when photographing in black and white is the tonal range of your subject matter. Black and white images often have a limited tonal range, so it’s important to choose subjects that will translate well into this medium. Try to avoid scenes with very bright colors or extremely dark shadows, as these can be difficult to reproduced in black and white.
Instead, look for scenes with subtle shades of gray, which will give you more flexibility when it comes time to convert your photos into this timeless medium.
How Do You Take Good Black And White Portraits?
There are a few things to keep in mind when taking black and white portraits to ensure they turn out looking their best. First, it’s important to find the right lighting. Black and white photos tend to look best in natural light, so try to take your photo outdoors or near a window.
If you’re using artificial light, make sure it’s not too harsh or bright – diffused light will give your photo a softer, more flattering look.
Next, pay attention to composition. As with any type of photography, composing your shot carefully can make all the difference in the final result.
Try framing your subject using elements like doorways or windows for added interest, or use leading lines to draw the viewer’s eye towards the main focal point.
Finally, don’t be afraid to experiment with different camera settings and post-processing techniques until you find a look that you love. Black and white photography can be very versatile – play around with contrast levels, graininess, and other effects until you create an image that feels truly unique.
What are Some Lighting Techniques Used in Portrait Photography?
There are a variety of lighting techniques that can be used in portrait photography, each with its own unique effect. Here are some of the most common lighting techniques used:
Soft light: This is one of the most popular lighting techniques used in portrait photography.
Soft light is achieved by using a diffuser or softbox to soften the light and reduce shadows. This type of lighting is ideal for creating a gentle and flattering effect.
Hard light: Hard light is created by using a direct light source, such as the sun or a bare bulb.
This type of lighting can create strong shadows and highlights, which can add drama and contrast to a photo. Hard light can be particularly effective when photographing people with interesting facial features or expressions.
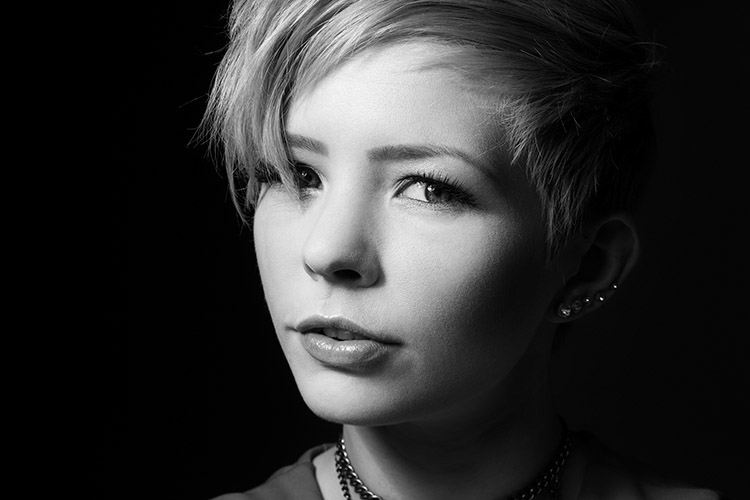
Side light: Side light is created by positioning your subject so that the light hits them from the side.
This type of lighting can create depth and dimension in a photo, as well as highlight textures and details. When using side light, it’s important to be aware of potential shadows that may be cast on your subject’s face.
Backlight: Backlight is created by positioning your subject so that the light hits them from behind.
This type of lighting can create a beautiful halo effect around your subject’s head and shoulders. Backlight can also be used to create silhouette portraits, where only the outline of your subject is visible against a bright background.
What are the 5 Lighting Techniques?
If you’re looking to add some interest and variety to your photography, experimenting with different lighting techniques is a great place to start. Here are five lighting techniques that every photographer should know about:
1. Backlighting
Backlighting is when the light source is positioned behind the subject. This creates a halo effect around the subject and can be used to create dramatic or romantic images. To get the best backlighting results, make sure the background is significantly brighter than the foreground.
2. Side Lighting
Side lighting happens when the light source is positioned to one side of the subject, rather than in front or behind. This creates interesting shadows that can help shape and define your subject matter.
3. Soft Lighting
Soft lighting is created when there’s diffused light, like on an overcast day or when using a translucent material like a sheer curtain as a light modifier. This type of lighting is often used for portraits because it’s very flattering, especially for skin tones.
4. Hard Lighting
Hard lighting happens when there’s direct, unfiltered light from a strong light source – think midday sun on a clear day. This type of lighting can be harsh and unflattering, but it can also be used creatively to create contrast and highlight texture in an image.
5) Rim Lighting
Rim lighting occurs when the light hits your subject from behind, resulting in a bright rim of light around them – hence the name! This type of lighting can really make your subject pop against their background and can be used for both portraits and still lifes alike.
Credit: digital-photography-school.com
Black And White Portrait Lighting
When it comes to portrait lighting, there are endless possibilities. But sometimes, simplicity is key. That’s why black and white portraits can be so stunning.
By using only two colors, the focus is completely on the subject. And with the right lighting, you can create some truly dramatic images.
There are a few things to keep in mind when photographing black and white portraits.
First, pay attention to the direction of light. You want to avoid harsh shadows, so look for soft, even light. This can be achieved by using a diffuser or shooting in open shade.
Second, think about the contrast between light and dark areas in your frame. Too much contrast can make an image look stark and uninviting. But just enough contrast will add drama and depth to your photo.
Finally, don’t forget about texture! When photographing in black and white, texture takes on new importance.
Conclusion
In black and white portrait photography, lighting is key to creating the desired effect. There are a few different techniques that can be used to create different looks.
One common technique is to use a single light source, such as a window or lamp, and position the subject so that the light is shining directly on their face.
This creates a stark contrast between the light and dark areas, which can be very striking in black and white.
Another option is to use two light sources, one on either side of the subject’s face. This can create a more even distribution of light and help to avoid any harsh shadows.
Experimenting with different lighting techniques is the best way to find what works best for you and your subjects. By playing around with different setups, you’ll be able to find the perfect way to capture those stunning black and white portraits.