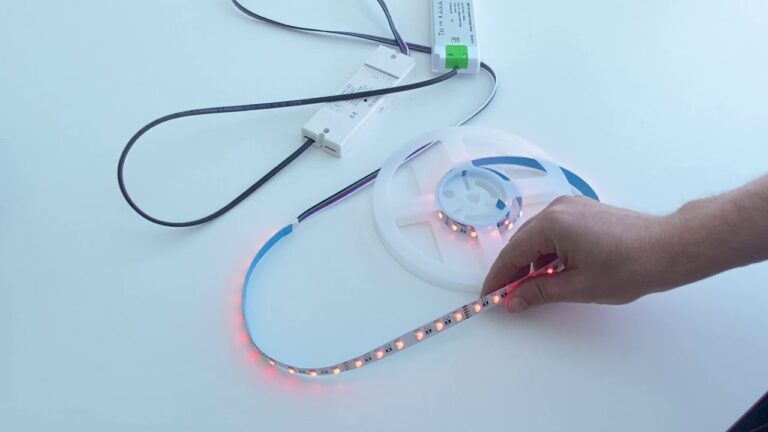
Can You Hot Glue Led Strip Lights?
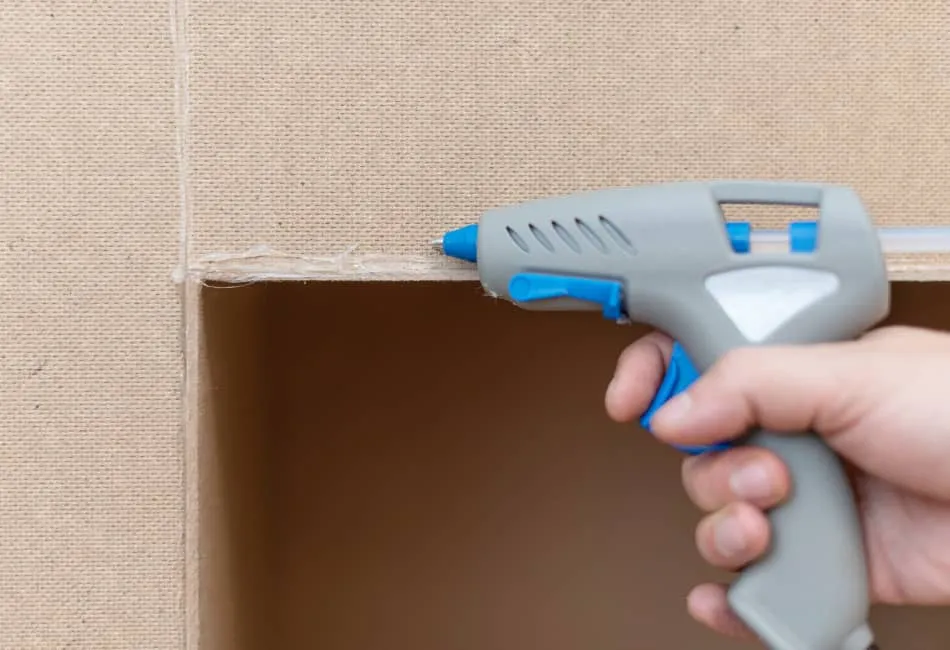
You can absolutely hot glue LED strip lights! In fact, hot gluing is one of the most popular methods for attaching these types of lights. It’s quick, easy, and produces a very strong bond.
Plus, it’s great for those who don’t want to use nails or screws.
- Decide where you want to place your LED strip lights
- Make sure the surface is clean, dry and free of debris
- Using a measuring tape, measure and mark the area where you will be cutting the LED strip light to size
- Cut along the marked line with a sharp pair of scissors or utility knife
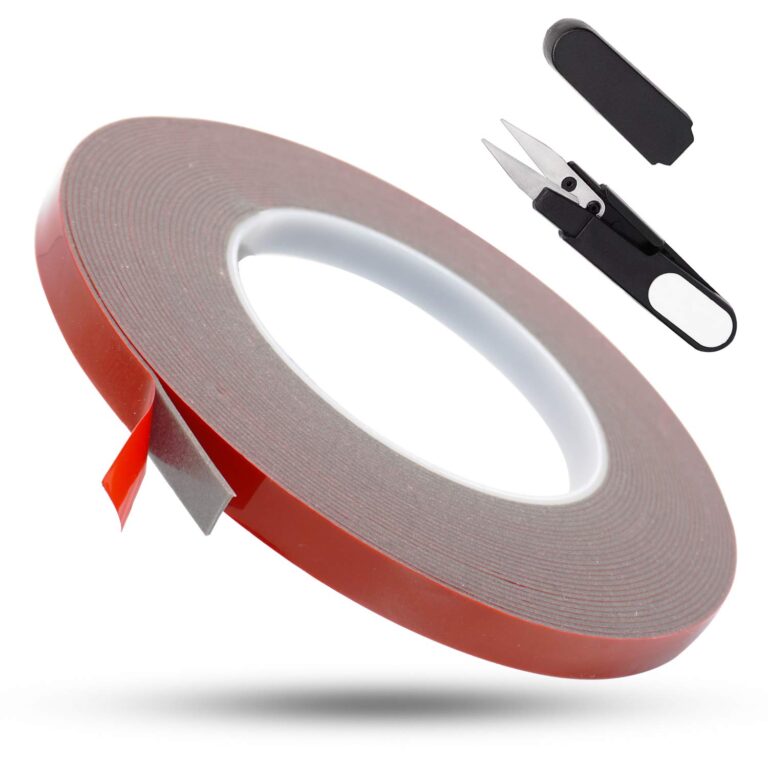
- Peel off the adhesive backing on the LED strip light, being careful not to touch the exposed LEDs with your fingers
- Press the LED strip light into place on the surface, making sure all of the LEDs are facing in the same direction
- Plug in your power supply and turn on your LED strip lights! Enjoy your new lighting setup!
Make Flexible LED light with Hot Glue Gun stick easy to make
Can I Glue Led Strip Lights?
Yes, LED strip lights can be glued. In fact, many people use glue to attach LED strip lights to surfaces in their homes and businesses. While it is possible to glue LED strip lights, there are a few things you need to keep in mind in order to ensure a successful installation.
First, make sure the surface you’re attaching the LED strip lights to is clean and free of debris. Next, apply the glue evenly across the back of the LED strip light. Once the glue is applied, press the LED strip light onto the surface and hold it in place for a few seconds before letting go.
After the LED strip light is attached, plug it in and enjoy your new lighting!
How Do You Make Led Strips Stick Again?
If your LED strip lights are starting to fall off, there are a few things you can do to make them stick again.
First, try cleaning both the surface of the LEDs and the area where they will be mounted. A good way to clean the LEDs is with isopropyl alcohol and a cotton swab.
For the mounting surface, you can use a mild soap and water solution. Make sure both surfaces are completely dry before proceeding.
Next, apply a small amount of clear silicone adhesive to the back of the LED strip light.
You want to use just enough adhesive to make a thin layer that will hold the LED strip in place but won’t be too thick or runny. Once you have applied the adhesive, press the LED strip into place on the desired surface and hold it there for about 30 seconds so that it can start to set up.
You may need to wait an hour or two for the silicone adhesive to fully cure before turning on your LED lights.
But once it’s cured, your LED strips should be firmly in place and ready to provide bright illumination for years to come!
How Do You Fix Ripped Led Strips Without Soldering?
If your LED strip has been ripped and is in need of repair, there are a few things you can do to fix it without soldering. First, if the strip is still intact at one end, you can try to reconnect it by gently pushing the two pieces back together. If the strip is completely detached, you’ll need to use wire to connect the two ends.
Once you have the strip reconnected, use electrical tape or heat shrink tubing to secure the connection and prevent further damage. If your LED strip is damaged beyond repair, you can always replace it with a new one.
What Can I Use to Restick My Led Lights?
If your LED lights are starting to lose their stickiness, there are a few things you can do to restick them. One option is to use double-sided tape. You can also try using hot glue or superglue.
If those don’t work, you can always buy new adhesive strips specifically for LED lights.

Credit: www.youtube.com
Best Glue for Led Strip Lights
LEDs are becoming increasingly popular as a source of lighting for a variety of applications. One such application is using LED strip lights. While there are many different types and brands of LED strips on the market, finding the best glue for them can be a challenge.
This blog post will provide detailed information about the best glue for LED strip lights, as well as some tips on how to use it effectively.
The most important factor to consider when choosing a glue for LED strip lights is its heat resistance. LEDs generate a lot of heat, and if the glue is not resistant to this heat, it will break down over time and cause the LEDs to fail.
There are many different types of heat-resistant glues on the market, but not all of them are created equal. Some glues may only be able to withstand low temperatures, while others may be able to handle high temperatures without breaking down. It is important to choose a glue that can withstand the temperature range that your particular LEDs operate in.
In addition to being heat resistant, the best glue for LED strip lights should also have good adhesive properties. The adhesive should be strong enough to keep the LEDs in place, but not so strong that it is difficult to remove them when necessary. It is also important that the adhesive does not damage the surface that it is applied to.
Many adhesives contain chemicals that can etch or stain certain materials, so it is important to choose an adhesive that will not damage your surfaces.
Finally, you need to consider how easy it is to use the glue before making your purchase . Some glues require special equipment or techniques in order to apply them properly , while others can simply be applied with a brush or roller .
If you are not experienced in using adhesives , it may be best to choose a product that is easy touse . There are many videos available online that can show you howto applytheglue correctlyto avoid any mistakes .
How to Remove Led Strip Lights Adhesive
If you’re looking to remove your LED strip lights, there are a few things you need to know. First, led strips are typically mounted using an adhesive backing. This makes them super easy to install, but it also makes them tricky to remove.
If you’re not careful, you can easily damage the lights or the surface they’re mounted on. Here’s a step-by-step guide on how to safely remove your LED strip lights:
1. Begin by heating up the adhesive with a hair dryer or heat gun.
You want to be careful not to overheat the adhesive, as this can damage the lights or the surface they’re mounted on. Just apply enough heat so that the adhesive becomes soft and pliable.
2. Once the adhesive is heated up, use a putty knife or other flat object to slowly and carefully pry the LED strip off of the surface.
Start at one end and work your way down until the entire light strip is removed.
3. If there is any residual adhesive left behind, use a solvent such as rubbing alcohol or Goo Gone to remove it completely. Be sure to test in an inconspicuous area first to make sure that it won’t damage your surfaces!
How to Keep Led Light Strips from Falling off
Most people don’t know how to keep their LED light strips from falling off. This is a problem because if the LED strip falls off, it can cause a fire. Here are some tips to keep your LED light strips from falling off:
1. Use double-sided tape: This is the easiest way to keep your LED strip in place. Just put a piece of double-sided tape on the back of the strip and then stick it to the desired surface.
2. Use zip ties: If you want a more permanent solution, you can use zip ties to secure the LED strip in place.
Just make sure that you don’t overtighten the zip ties or they could break the LEDs.
3. Use glue: Another option is to use glue, although this is not as easy to remove if you ever need to take down the LED strip.
following these tips should help you keep your LED light strips in place and prevent them from falling off and causing a fire hazard.
How to Stick Led Strip Lights on Wall Without Damaging Paint
Looking for a way to add some extra light to your home without damaging your walls? Led strip lights are a great option! But how do you stick them on the wall without ruining your paint job?
Here are a few tips:
1. Use painters tape or masking tape to adhere the strips to the wall. This will help protect your paint and make removal easier.
2. If you want a more permanent solution, use adhesive strips designed specifically for led lights. These can be found at most hardware stores.
3. Make sure the surface you’re applying the strips to is clean and dry before adhering them.
This will help ensure a strong bond.
4. Follow the manufacturer’s instructions carefully when applying any adhesive products to avoid damage.
How to Attach Led Strip Lights
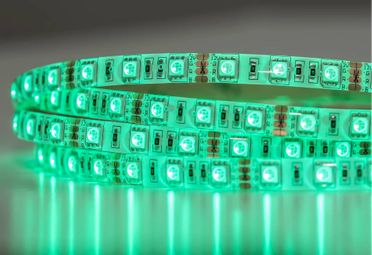
If you’re looking to add a little bit of light to your life (or home, office, car, etc.), LED strip lights are a great option. They’re relatively inexpensive, easy to install, and come in a variety of colors and styles. Plus, they can be used for a variety of purposes – from providing accent lighting to serving as task lighting.
No matter what your reason for wanting to install LED strip lights, the process is pretty straightforward. In most cases, all you’ll need is a power source (like an outlet or battery pack) and some double-sided tape or adhesive strips.
Here’s a step-by-step guide on how to attach LED strip lights:
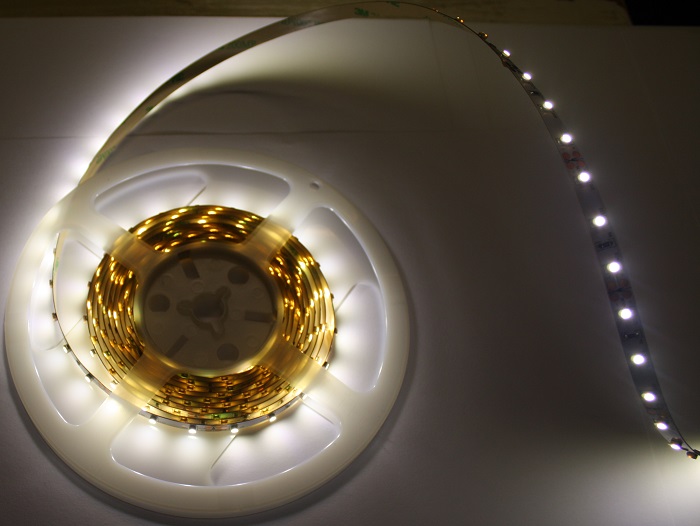
1. Start by planning out where you want your LED strip lights to go. It’s important to map out the area so that you know how muchstrip lightyou’ll need and where the power source will be located. Once you have an idea of the layout, cut your strip lightto size using scissors or wire cutters.
2. Next, clean the surface where theLED striplightwill be attached using rubbing alcohol or another cleaning agent. This will help ensure that the adhesive sticks properly.
3. Once the surface is clean, remove the backing fromthe double-sided tapeor adhesive strips and attach themto the back oftheLED strip lightat evenly spaced intervals.
If you’re using more than one strip oflight , make sure that the strips are aligned before attaching themto avoid any gaps in between . Also take noteof which sideof each strighthas + and – symbols; this indicates polarityand must be matched up when connecting multiple strips together . 4 Now it’s time toget creative!
You can useLedControllersto create different lighting effects like fading , flashing , strobing , etc . Most controllers also have wireless remote s so that you can control your lights without havingto getup closeand personal with them . There are even some Bluetooth controllersthat allowyou toturn on/offand adjust brightness levels right fromyour smartphone !
5 Finally , onceyou’vegot everythingin placeand working th e wayy ou want it t o ,enjoyyour new Ledstrip ligh ts !
How to Get Led Lights to Stick in Car
Car led lights are a great way to add some style and personality to your car. They’re also relatively easy to install, but there are a few things you need to know before you get started. Here’s a quick guide on how to get led lights to stick in your car.
The first thing you need to do is clean the area where you want to install the lights. Led lights are very sensitive and can be easily damaged by dirt, dust, or other debris. Use a soft cloth or brush to gently remove any dirt or debris from the area.
Next, use a measuring tape to measure the area where you want to install the lights. Make sure that you have enough space for the light strips that you’re going to use. Once you have your measurements, mark off the area with a pencil so that you know where to cut the strips.
Now it’s time to cut the strips! Using a sharp knife or scissors, carefully cut along the pencil line that you made earlier. Take your time and be precise – if they’re not even, they won’t look as good when they’re installed.
Once all of your strips are cut, it’s time to peel off the adhesive backing and apply them to your car. Start at one end and work your way down, making sure that each strip is firmly pressed into place. If necessary, use a hairdryer on low heat settingto slightly warm up the adhesive for better adhesion.
And that’s it!
How to Make Led Lights Sticky Again
If your LED lights have lost their stickiness, there are a few things you can do to make them sticky again. First, try cleaning the surface of the lights with rubbing alcohol. If that doesn’t work, you can try using a bit of clear nail polish or super glue.
Just be sure to apply it sparingly so that it doesn’t damage the finish on your lights.
How to Stick Led Strip Lights to Wood
If you’re looking for a fun and efficient way to light up a room or piece of furniture, LED strip lights are a great option. But how do you attach them to wood surfaces? Read on for a step-by-step guide on how to stick LED strip lights to wood.
You’ll need:
-LED strip lights
-Double-sided tape or adhesive strips
-Scissors (optional)
1. Start by cleaning the surface of the wood where you’ll be attaching the LED strip lights. This will help the tape or adhesive strips adhere better.
2. If your LED strip lights are too long, use scissors to cut them down to size. Make sure they’re still long enough to reach the power source!
3. Apply double-sided tape or adhesive strips evenly along the back of the LED strip light.
Be generous with the amount – you want it to be sticky enough to hold onto the wood surface. 4. Carefully peel off the backing from the tape or adhesive and press the LED strip light onto the wood surface firmly. 5. Repeat steps 3 and 4 until all of your LEDs are in place!
6 . Plug in your power source and enjoy your new DIY lighting setup!
Conclusion
Yes, you can glue LED strips lights, but there are a few things to keep in mind. First, make sure the surface is clean and dry before applying any glue. Second, use a strong adhesive like epoxy or hot glue.
Third, be careful not to get any glue on the LEDs themselves. Fourth, allow the glued joint to fully cure before powering on the lights.