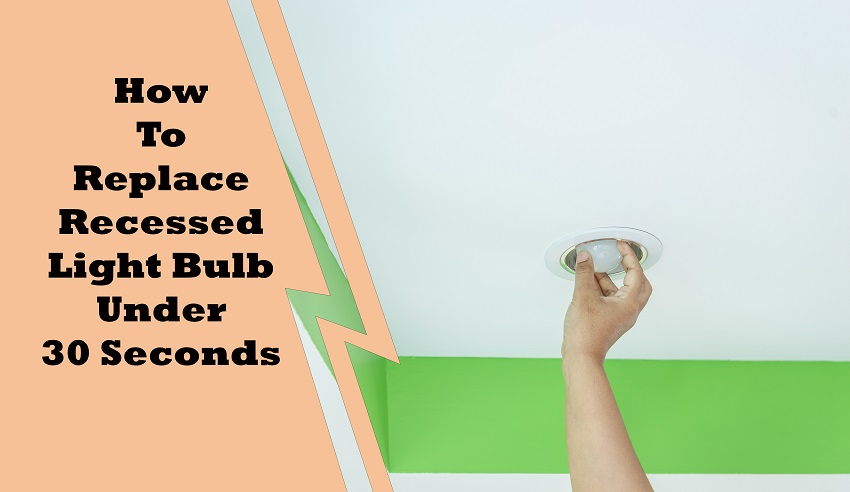
How To Replace Recessed Light Bulb Under 30 Seconds
The Recessed Light Bulbs are attractive to see and illuminate the interior of your home with a lot of luxurious attention; on the other hand, many people suffer a lot when it comes to removing the recessed light when replacing them. However, if you know the proper process, you can easily replace the recessed light.
Many people don’t know the exact process to replace the recessed lights; that’s why they are searching online for “How to Replace Recessed Light Bulb”. In this article, we are sharing two simple removal processes for two different types of a recessed light, which will help you a lot. Let’s see.
How To Replace Recessed Light Bulb
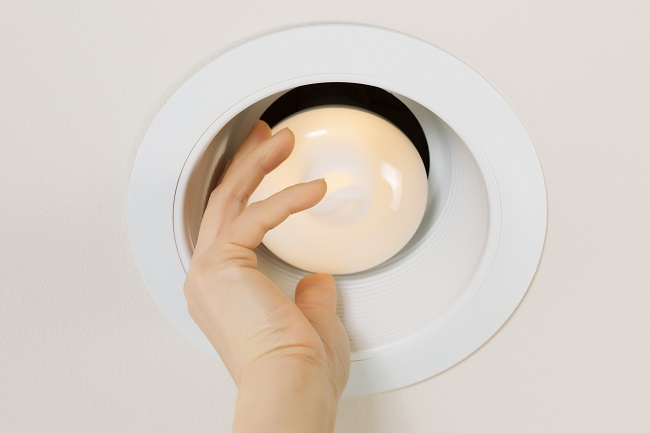
Different types of recessed lights replacing processes are different styles, so we have shared two simple methods, which have been used all the time; let’s see.
Method 1: Use a Duct Tape
Using duct tape for the process of removing recessed bulbs is a much easier way. You don’t have to do anything for this; you just need to duct tape and the new best recessed light bulbs, then you have to follow the next steps.
Step 1: Wait For The Bulbs To Cool.
If the light has been ON for some time, you must avoid touching the light immediately. Please wait until it cools down. Usually, a regular bulb takes more than 5 to 10 minutes to reach normal temperature, and halogen light takes 20 minutes or more.
Step 2: Tear Off The Strip of Duct Tape
Then take duct tape, and tear it off to 10 inches or the size of your arm.
Then fold the duct tape in such a way that it is enough to grip your hand. However, keep in mind that the adhesive part of the duct tape is on the outside. And fold the circle in such a way that it fits with your hand.
Step 3: Stick The Duct Tape And Unscrew The Light.
Hold the duct tape with the light, then press the bulb with the duct tape and rotate it in the opposite direction. Because most recessed lights are screw systems, the easiest way is to unscrew.
Step 4: Replace The Light With The Same Method
After unscrewing, replace the new light in the same way you unscrewed. In this case, first, tighten the light as much as possible with your hands, then tighten it completely using duct tape.
Method 2: Removing The Retaining Collar
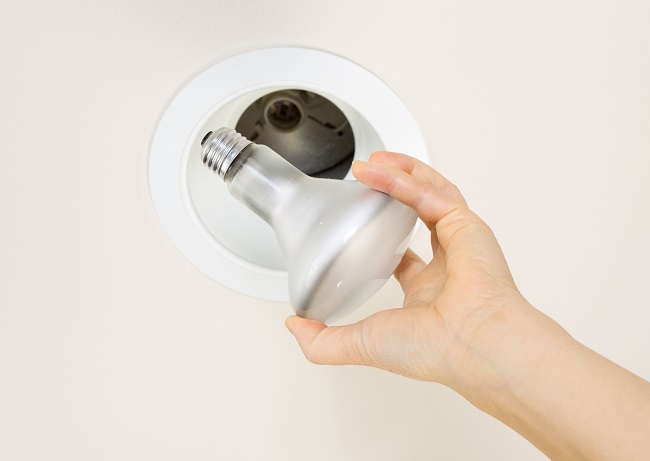
This process is also a bit simple like our previous process; however, this process is mainly for LED types of lights. So let’s see.
Step 1: Wait For The Bulbs To Cool.
Like our previous process, if the light has been ON, then OFF it and refrain from touching the light immediately. After cooling, follow the next steps.
Step 2: Remove The Metal Ring
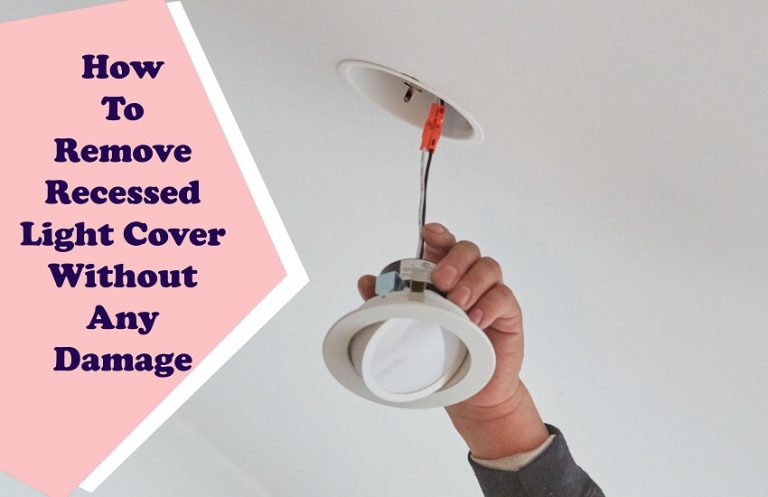
If you notice well, the recessed light has a round metal ring, which basically holds the light. So first, you have to remove the ring. To do this, first, turn your hand around the ring and try to understand if there are any screws available around or not.
Then carefully remove the color around the screw with a knife, and must take care not to ruin the ceiling.
Step 3: Remove The Stuck Ring
Then remove the found screw. Many times after removing the screw, the light can be removed easily. If the light is still held, it means there is another ring that you have to need to remove.
For this, first, hold the second ring with your finger, then push side by side so that you can easily free the fixture. If you can’t release the fixture, then read the user manuals once.
Most of the recessed light metal ring easily removed on the side of the gap with the screwdriver is pressed; in this case, if it is not easily removed, then the side is jammed. Then remove the light with light pressure. And later follow the same process for installing the new light.
Related Post:
- How To Remove Old Recessed Light Housing
- Can Lights vs Recessed Lights
- Recessed Lighting vs Flush Mount Lighting
Final Verdict
Hopefully, you have already easily removed the recessed light by following one of the above two processes and also installing the new recessed light. If you need any suggestions related to this article, please let us know below in the comment box.
