How To Install Canless Recessed Lighting – A Complete Guide
Do you want to replace your existing light with canless recessed lighting? And want to know how you can install canless recessed lighting? Then you have come to the right place.
Many people face many kinds of problems when installing canless recessed light, such as the right side of the hole, starting from the wiring to facing many more problems, especially those who are at the beginner level.
In this article, we will share a complete guide on how to install canless recessed lighting, and what you will need for this first to last will share all step by step, which will help you a lot to understand easily. So let’s see eighty.
How To Install Canless Recessed Lighting
Before installing canless recessed light, you must make a proper plan because the smallest mistake can ruin the decoration of your entire recessed setup. Here are some planning tips and tricks below that will help you plan for recessed light installation.
i. What Type of Recessed Light Do You Want?
There are many types of recessed light available, such as a baffle trim that provides your room with a full wide beam of lightning. The eyeball trim helps you rotate and focus on a specific area. So first, choose the type of lights you want to install.
ii. What Is Above Your House Ceiling?
Then you need to see what is above your ceiling, if there is an attic above, then your work will be much easier, and you can easily install the fixture and setup.
iii. What Kind of Wiring Do You Have?
First, you need to look at the existing wiring in your home, whether it is copper or aluminum. And use existing wiring such as a new cable. If your home’s existing wiring is fabric insulated and there is no ground wire, ask the help of an electrician and see if any cables should be replaced or not.
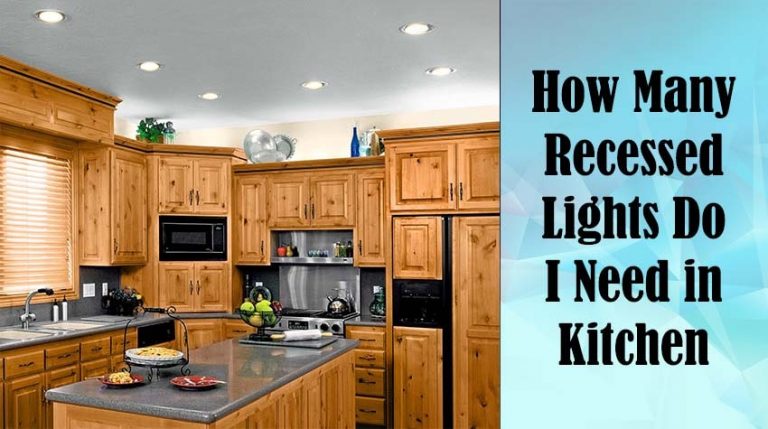
iv. How Many Lights Do You Want To Add?
You need to calculate how many lights you can add because the extra wattage capacity is dangerous for your home circuit.
The easy way to calculate is to see how many wattage bulbs were in your existing fixture to calculate them. For example: If your existing fixture has five 100 watt bulbs, then 5 x 100 = 500 watts is the capacity of the fixture. You can easily install lights up to 500 watts in this circuit.
If you want to use more wattage than the existing fixture, then I would suggest taking the help of an electrician.
Installing Recessed Lighting
Before starting the electrical work, you must keep in mind the following essential parts.
- First, turn OFF the main circuit breaker of electricity so that the full electricity is off in the room where you will be installing the recessed light.
- Then test the wire in the room to make sure the electricity is off.
- Keep all the switches OFF.
- Before the light fixture, make sure that the wattage of the light is correct. Refrain from using light of more than specified wattage.
After following the above process completed, follow the next installation process step by step below.
Note: If you are of complete beginner level, and have no idea about electrical or wiring at all, then I highly recommend taking the help of a certified electrician; this will save you from accidents.
Step 1: Identify The Lighting Locations
Use the manufacturer’s template and adjust the lighting location to your desire. Or identifying the places where you will set up the lighting.
Step 2: Prepare And Cut The Area
First, make a 1/4 inch hole using a drill in the center of the ceiling, where you will be the lighting. If there is an attic at the top, then you go and visually check all the conditions there. If there is a finished area in the ceiling, check the lighting area’s condition using fish tape.
To make a hole in the right way and the right size, you must use Hole Saw; first, take the size of the recessed lighting, then, with the help of a hole saw, make holes in the places where you want to make holes.
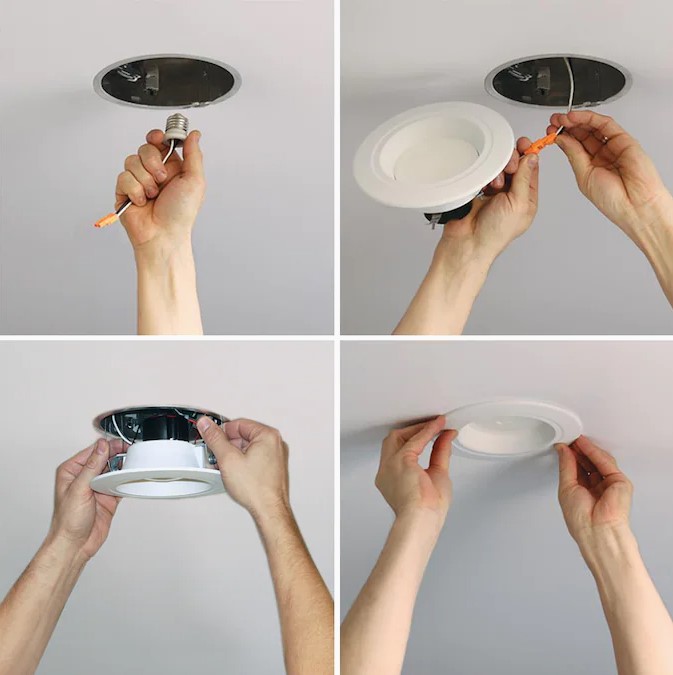
Step 3: Remove The All Existing Fixture
If there are any existing fixtures, disconnect them from the power source, and remove them.
Step 4: Expose The Wire
Pull the wire from the main power source to the first recessed light, pull it up to about 20 inches and hang it on the ceiling. If there is an attic above the ceiling, then you go to the top of the attic and pull the cable along all the fixtures. And if there is a finished area above the ceiling, then pull the cable with the help of fishing wire along each of the fixtures.
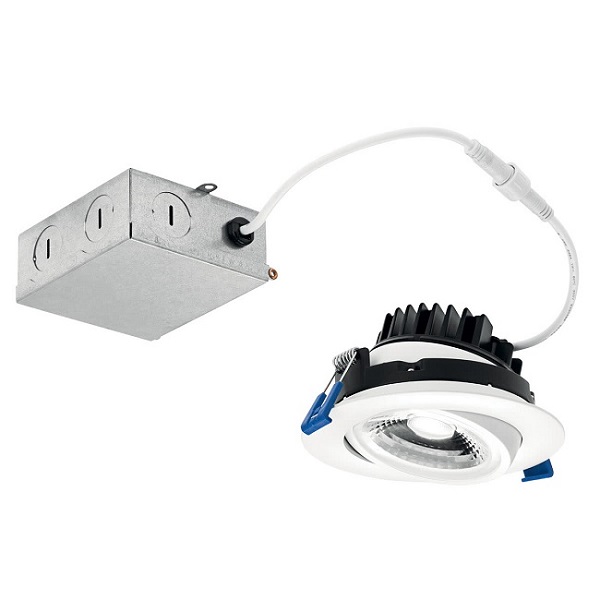
Step 5: Wire The Fixture
Then connect the first light cable to the power source wire. Make sure to connect the cable to the timeline, connect the neutral to neutral, hot to hot, and ground to the ground cable. Line up the two connectors, then twist on the correct size wire connector; after that, wrap it with electrical tape.
In this way, connect all the first to last fixtures. And connect it to the switch.
Step 6: Install The Recessed Lights
Then install each light according to the manufacturer’s instructions. Usually, most of the recessed lights installation process is the same as below.
First, you need to connect the cable of the LED junction box with the fixture cable of the ceiling. Then to fit the light with the ceiling, you have to fix the spring clip on both sides of the light with the ceiling.
However, the installation process of some recessed lights may be different, so first, look at the manufacturer’s book, install accordingly.
Step 7: Test The Lights
Then turn ON the power, and enjoy by turning ON the switch.
Related Post:
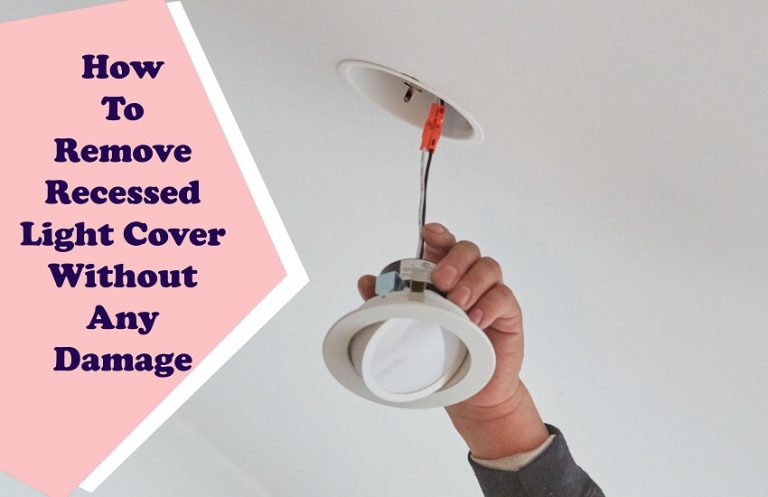
- How To Remove Old Recessed Light Housing
- How To Remove Recessed Light Cover
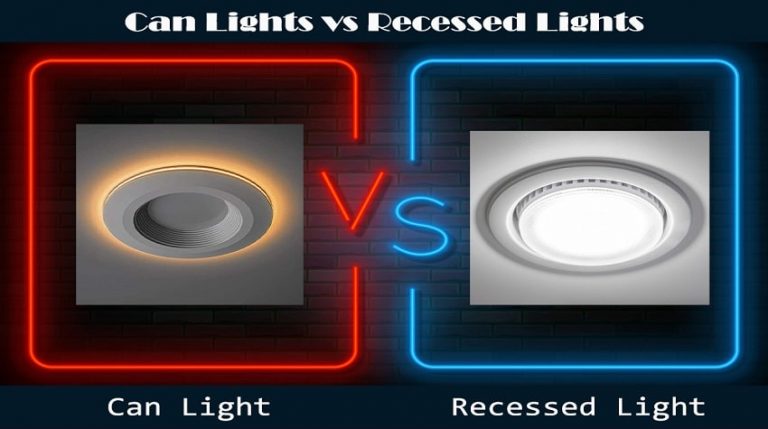
- Can Lights vs Recessed Lights
Final Verdict
Hope our how to install canless recessed lighting guides help you a lot when you are installing. However, It is great to take the help of experts in electrical work because there is a risk of a big danger due to a mistake. So, in my opinion, if you do not have previous experience, then you must take the help of a certified electrician.