How to Remove a Stuck Fluorescent Light Bulb?
If you have a fluorescent light bulb that is stuck in the socket, there are a few things you can do to remove it. First, try turning off the power to the fixture and then unscrewing the socket cap. This will allow you access to the bulb so you can grab it with a pair of needle-nose pliers.
If the bulb is still stuck, you can try gently tapping it with a rubber mallet or another soft tool. If all else fails, you may need to cut the wires leading to the bulb and replace the entire fixture.
- Unplug the fixture from the power source
- Remove the lens or globe from the fixture, if possible
- unscrew the retaining screws and remove the ballast cover
- Cut out any burned wire insulation with wire cutters and twist the ends of the wires together to splice them
- Wrap electrical tape around each connection and screw the ballast back into place
How to change a fluorescent light bulb
Can You Use Wd40 to Remove a Stuck Light Bulb?
If you’re stuck with a difficult-to-remove light bulb, WD-40 may be able to help. The lubricant can loosen the grip of the metal threads on the base of the bulb, making it easier to unscrew. Just spray a little WD-40 onto the threads and let it sit for a few minutes before trying to remove the bulb again.
With any luck, it should come out much more easily.
How Do You Remove Fluorescent Bulbs from Fixtures?
Fluorescent bulbs are commonly used in commercial and industrial settings because they are energy efficient and have a long lifespan. However, when these bulbs need to be replaced or removed from their fixtures, it can be tricky. Here is a step-by-step guide on how to remove fluorescent bulbs from fixtures:
1. First, you will need to turn off the power to the fixture. This can usually be done by flipping a switch on the wall or circuit breaker box.
2. Once the power is off, carefully unscrew the lens cover of the fixture (if there is one).
Some covers may be held in place with screws while others just snap into place.
3. Now take a look at how the fluorescent bulb is being held in place within the fixture. There are two common ways that these bulbs are mounted: either with spring clips or twist-lock sockets.
If your bulb is mounted with spring clips, simply squeeze each clip until it releases its hold on the bulb and then pull the bulb out of the socket. If your bulb is mounted in a twist-lock socket, rotate it counterclockwise until it comes loose and then pull it out of the socket.
4. You can now dispose of your old fluorescent bulb properly and install a new one by following these same steps in reverse order!
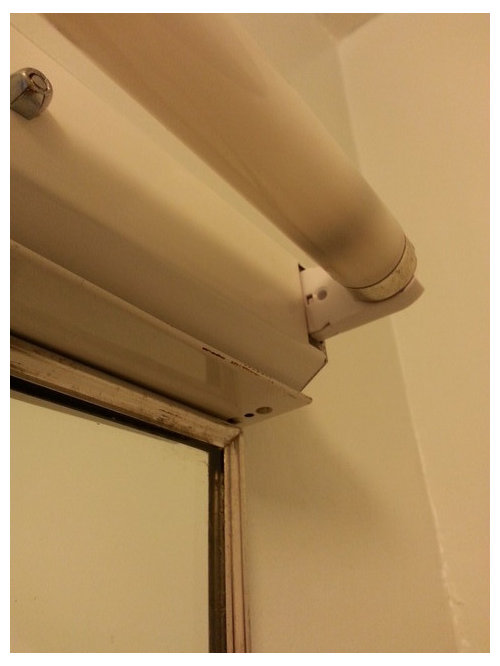
Credit: www.houzz.com
How to Remove Fluorescent Light Bulb
Removing a fluorescent light bulb may seem like a daunting task, but it is actually quite easy. You will need to gather a few tools before you begin, including a ladder, screwdriver, and paper towel. Once you have these items, follow these simple steps:
1. Turn off the power to the fixture at the breaker box. This is an important safety step that should not be skipped.
2. Remove the diffuser or lens from the fixture.
This will give you access to the bulbs.
3. unscrew each bulb from its socket and dispose of it properly. Be careful not to drop the bulbs, as they are fragile and can break easily.
4. Install new bulbs in the sockets and screw them in place snugly but do not overtighten them.
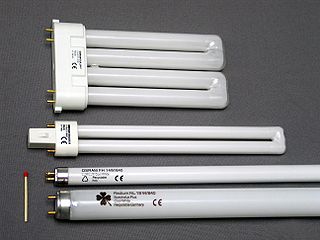
How to Change 2 Pin Fluorescent Light Bulb
If you have a 2 pin fluorescent light bulb that needs to be changed, follow these steps:
1. Turn off the power to the fixture.
2. Remove the lens or diffuser from the fixture (if applicable).
3. Remove the retaining clips or screws that hold the old bulb in place.
4. Carefully remove the old bulb from the socket, being careful not to touch it with your fingers (the oil from your skin can shorten its lifespan).
5. Insert the new bulb into the socket, again being careful not to touch it with your fingers.
6. Replace any retaining clips or screws and reattach the lens or diffuser (if applicable).
How to Turn the Contact Rings in an Empty Fluorescent Bulb Socket from Closed to Open?
If you need to turn the contact rings in an empty fluorescent bulb socket from closed to open, there are a few things you’ll need to do. First, find a small screwdriver or another similar tool. Next, locate the two small screws on the socket – one should be near the top and the other near the bottom.
Insert the screwdriver into each screw and turn them both clockwise until they’re completely loosened. Once that’s done, you should be able to pull out the contact rings with ease. Finally, simply reverse the process when you need to close them again – tighten the screws until they’re snug and then insert the contact rings back into place.
How to Change a Fluorescent Light Bulb Cover
Fluorescent light bulbs are a great way to save energy and money, but they can be a pain to change. The process is pretty simple, but there are a few things you need to know before you start.
First, make sure you have the right tools.
You’ll need a screwdriver (preferably Phillips head) and a new bulb cover. Most covers come in two pieces – the bottom half attaches to the base of the bulb, while the top half clips onto the bottom piece.
Next, locate the screws that hold the cover in place.
There are usually two or three of them, and they’re often hidden behind small plastic plugs. Once you’ve found them, use your screwdriver to loosen and remove them.
With the screws removed, gently pull on the cover until it comes free from the bulb base.
Be careful not to touch the glass portion of the bulb with your bare hands – oils from your skin can cause it to break prematurely.
Now it’s time to install your new cover. Line up the bottom half with the base of the bulb, then snap on the top half until it clicks into place.
Screw in your new retaining screws (snug them down, but don’t overtighten), and you’re done!
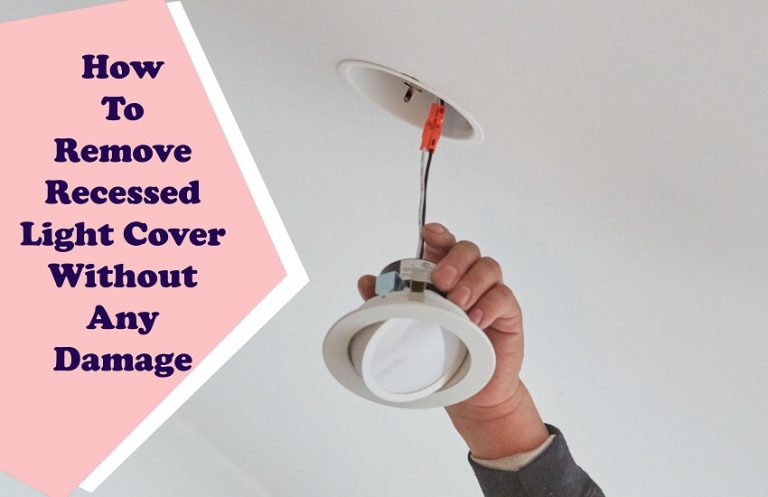
How to Remove Fluorescent Light Cover in Kitchen
If you have ever had to change a light bulb in a fluorescent light fixture, you know that it can be a bit tricky. The first thing you need to do is remove the fluorescent light cover. Here is a step-by-step guide on how to do this:
1. First, locate the clips that hold the cover in place. There are usually two clips, one on each end of the cover.
2. Using your fingers or a flathead screwdriver, gently pry the clips off of the cover.
3. Once the clips are removed, the cover should come right off. If it doesn’t, check to see if there are any other fasteners holding it in place.
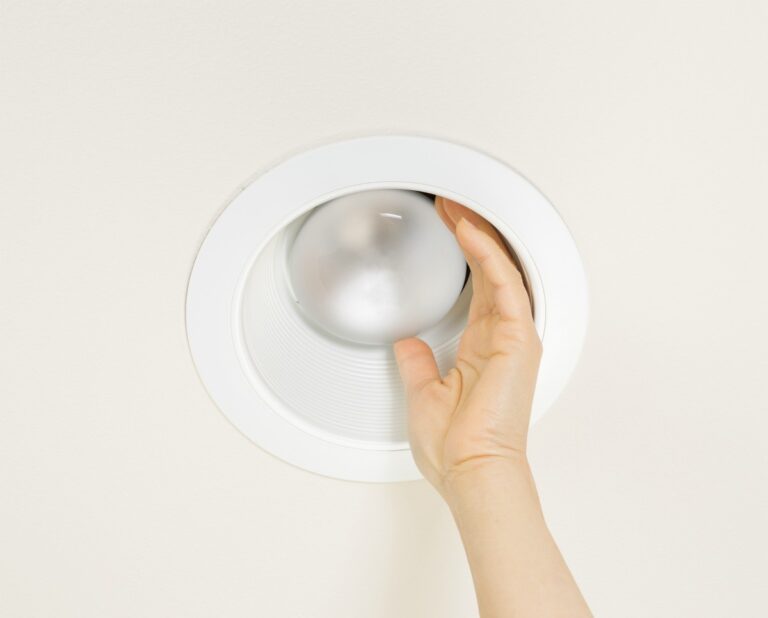
4. With the cover off, you should now be able to access the light bulbs inside the fixture.
How to Remove Fluorescent Light Fixture – Youtube
It’s no secret that fluorescent light fixtures can be a pain to remove. But with a little know-how, you can easily take them down and get rid of them for good! Here’s how:
First, make sure you have the right tools. You’ll need a screwdriver and a pair of pliers. If your fixture is held up by screws, simply unscrew them and carefully pull the fixture down.
If it’s held up by clips or other hardware, use the pliers to loosen or remove them before pulling the fixture down.
Once the fixture is down, disconnect the wires from the power source. Be careful not to touch any live wires!
Once they’re disconnected, you can safely dispose of the fluorescent light fixture.
How to Change Fluorescent Light Bulb in Office
If you have an office with fluorescent lighting, you may eventually need to change one of the bulbs. Here’s a guide on how to do it:
First, locate the fixture that needs a new bulb.
Then, turn off the power to that fixture at the breaker box. Once the power is off, remove the old bulb from the socket by twisting it counterclockwise until it comes out.
Next, insert the new bulb into the socket and twist it clockwise until tight.
Finally, turn on the power to the fixture at the breaker box and test out your new bulb!
Replace Fluorescent Light in Kitchen
If your kitchen has an old, outdated fluorescent light fixture, you may be wondering how to replace it. While fluorescent lights are not as popular as they once were, they can still be found in many kitchens. If you have a fluorescent light in your kitchen, here is how to replace it:
First, turn off the power to the fixture at the breaker box. Next, remove the diffuser (the plastic cover) from the fixture. Then, carefully remove the tubes from the fixtures (being careful not to break them).
Once the tubes are removed, unscrew the ballast from the fixture and dispose of it properly (most ballasts contain harmful chemicals).
Now that the old ballast is removed, you can install a new one. Be sure to get a ballast that is compatible with your fixtures and tubes.
Once the new ballast is in place, screw it into place and then re-install your tubes. Finally, put back on the diffuser and turn on power to the fixture at the breaker box.
Conclusion
If you have a stuck fluorescent light bulb, there are a few ways you can remove it. One way is to use a pair of needle-nose pliers to grip the base of the bulb and twist it until it comes loose. Another way is to use a putty knife or screwdriver to pry the base of the bulb away from the socket.
Once you have removed the bulb, you can unscrew the socket from the fixture and clean it out before screwing in a new bulb.